By Molly Watson.
START WITH FRESH, RAW OYSTERS
The main reason for shucking oysters is to eat them raw. You want very fresh, live, fabulous oysters if that’s your plan. Luckily, oysters are fairly cooperative on that front as long as you keep them cold and don’t suffocate them in plastic. It’s best to buy oysters the day you’re going to shuck them, but that’s mainly a storage issue. There is no reason not to buy them a day or two ahead if that’s more convenient.
Above are a few Pacific oysters (Crassostrea gigas) and Atlantic oysters (Crassostrea virginicas). You can shuck any kind you like or are at your market. Atlantic oysters are a bit trickier to shuck, but only because the shells tend to split.
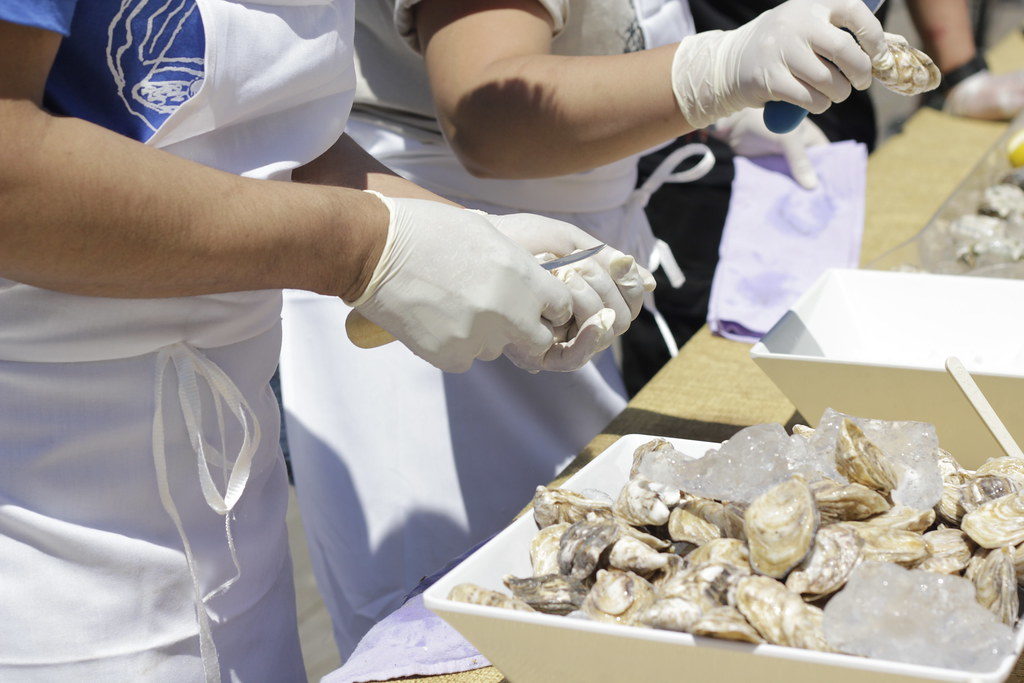
Along with the oysters, you will also need a short knife or another thin-edged instrument. An actual oyster knife is great, which is nice because it has a guard around the blade to keep your hand from slipping, but a screwdriver (flat head, not Philips!) and even a table knife work as well. You want something with a thin edge that you can work between the shells but that is also strong enough to use to pry open the shells. Most people will also want something with which to hold the oyster (those shells can get sharp). A rag or kitchen towel or oven mitt are all good options, just note that whatever you use will get pretty darn acquainted with oyster shell and oyster juices and may never truly be the same again.
INSERT THE KNIFE BETWEEN THE SHELLS AND TWIST
Look at the oyster. The vast majority of oysters are going to have a cupped side and a flatter side. Hold the oyster with the flatter side up. The cupped side will hold the oyster and its liquid while you shuck.
Now look for the hinge – that point where the shells are joined in a more serious way that just being held together by the muscle that is the oyster. Some people jab the knife in right at the hinge (as pictured here). It’s often easier to insert the knife between the shells near the hinge (see the next step).
Note: You may prefer to set the oyster on a flat working surface, hold it steady, and insert the knife. Try both ways and see which way feels easier, safer, or more natural to you.
Having noticed where the hinge is located will now come in handy. Whether you inserted the knife at the hinge or near it, get the knife into the hinge and “pop” it open by twisting the knife blade. Sometimes just twisting the knife after you put it in between the shells will do it, other oysters are more stubborn and you’ll need to work the knife fairly far in to be able to angle the knife (or screwdriver) to be able to get enough leverage to “pop” that hinge.
Note: Keep it as flat as possible to avoid spilling out too much of the oyster liquor inside.
READ MORE at thespruceeats.com

